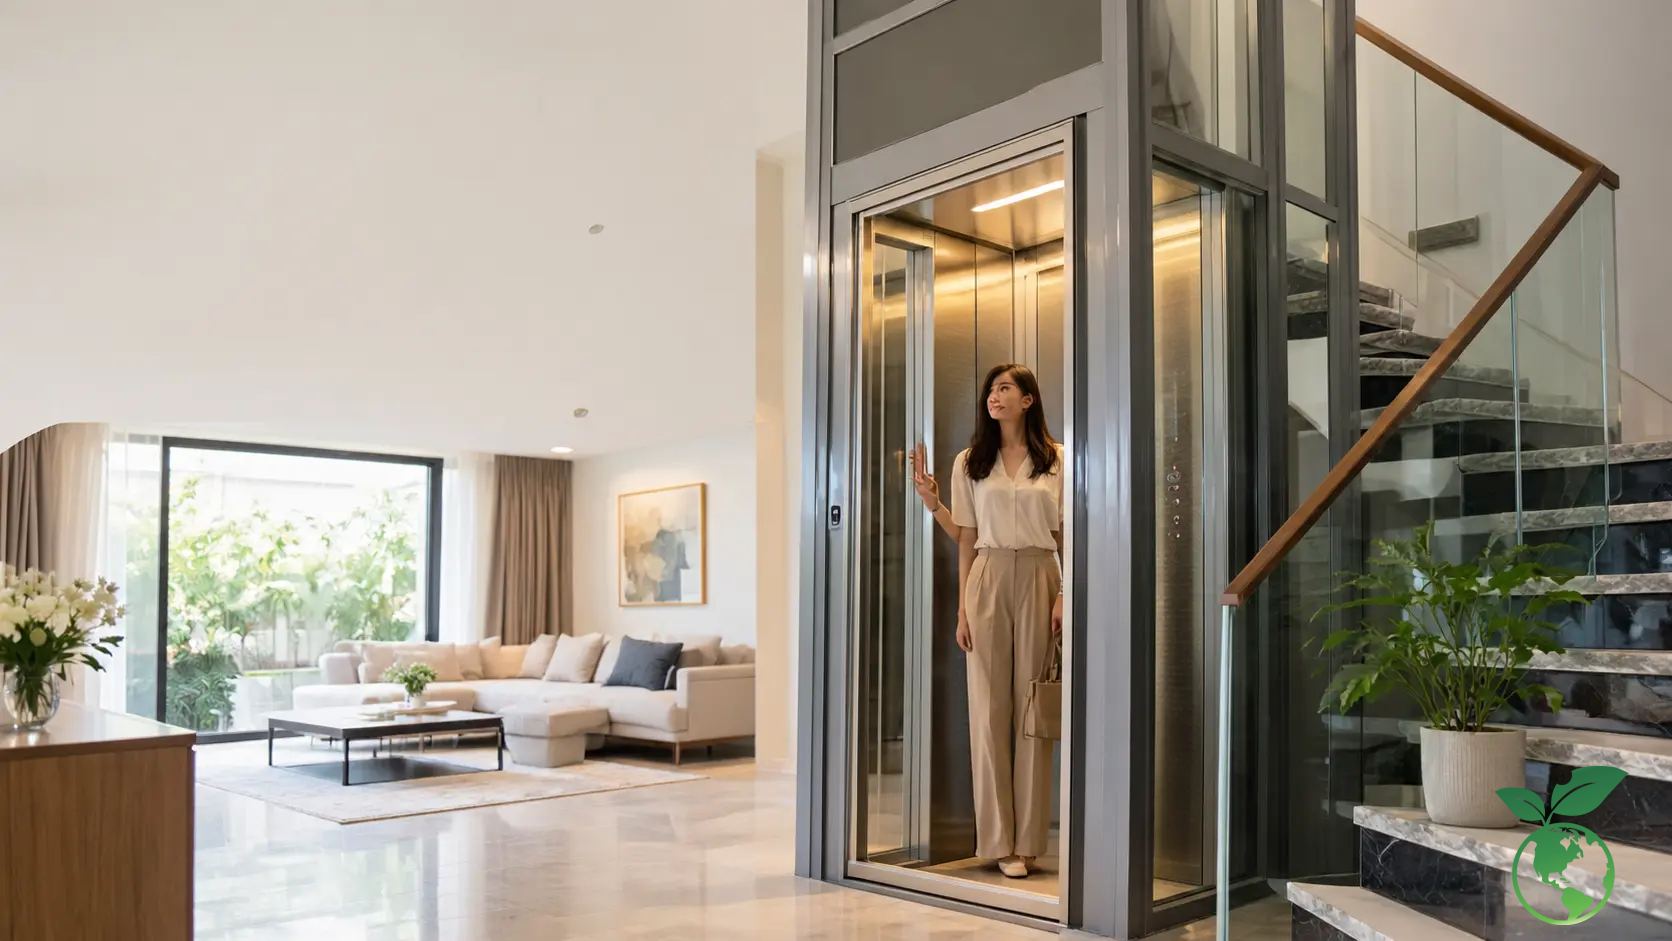
Dimensions of a home elevator shaft are often decided late, when the foundation is finished or the roof slab has been poured. This is the reason why the cabin is narrow, the floor door is misaligned, or the technology must be changed. This article guides how to determine the elevator shaft, pit, and construction drawings before repair costs arise.
Choose home elevator shaft dimensions based on load and actual area
Shaft dimensions should not be chosen based solely on the number of floors. It must stem from the load, number of users, door opening direction, traffic area, and type of counterweight. A small elevator shaft can still be used, but the cabin will have to trade off in terms of depth, width, or door aperture.

- Measure the clear-opening dimension after finishing the wall, do not take the architectural wall center dimension.
- Determine the number of simultaneous users during the family's peak hours.
- Check the need for wheelchairs, stretchers, or furniture to be taken upstairs.
- Lock the door opening direction before locating the stairs, hallway, and skylight.
- Make provision for space for guide rails, counterweights, and safety clearances around the cabin.
- Do not narrow the elevator shaft with thick cladding layers without confirmation from the equipment unit.
When building 2–3 floors, prioritize a 250–300kg load elevator shaft
2–3 story houses with light usage needs are usually suitable for a 250–300kg load, equivalent to about 3–4 people. The reference elevator shaft for traction cable configuration can be from 1,300 x 1,300mm to 1,500 x 1,500mm. However, this is only a preliminary range. The final dimension depends on the door type and counterweight position.
For example, a townhouse in Binh Thanh District, Ho Chi Minh City with a 4 x 16m floor plan chooses a cabin of about 900 x 900mm. A 1,400 x 1,400mm elevator shaft helps keep the ground floor walkway nearly 1m wide. The homeowner prioritizes automatic sliding doors to avoid the door wing taking up hallway space.
When building 4–5 floors, balance the 350–450kg home elevator shaft
4–5 story houses should consider a 350–450kg load. This is a suitable range for multi-generational families, those with frequent guests, or those with luggage transport needs. A wider cabin also makes moving furniture easier. The elevator shaft usually needs from about 1,500 x 1,500mm to 1,700 x 1,700mm.
Dựa trên kinh nghiệm thi công của Thang Máy Việt Ý, tải trọng 450kg thường tạo điểm cân bằng tốt giữa trải nghiệm cabin, diện tích xây dựng và chi phí vận hành. Chủ đầu tư không nên chỉ nhìn số người danh nghĩa. Cần xét thêm chiều rộng xe đẩy, hướng xoay người và tần suất sử dụng hàng ngày.
When the family is large or has wheelchairs, consider a 550–630kg elevator shaft
A 550–630kg load is suitable for villas, multi-generational homes, or projects with wheelchair users. The cabin needs sufficient depth for the wheelchair to enter directly, turn, or back out safely. The reference elevator shaft is usually from 1,800 x 1,800mm or more. A wider door also needs to be left correctly in the floor structure.
For example, a villa in Thao Dien, Ho Chi Minh City uses a 630kg elevator for six members and one elderly person using a wheelchair. A 2,000 x 1,900mm elevator shaft allows for a cabin of about 1,400 x 1,100mm, door 900mm wide. This plan reduces wheelchair turning maneuvers in the floor lobby and increases safety in use.
Quick lookup table for home elevator shaft dimensions by load, cabin, and elevator door
| Load capacity | Reference cabin | Reference elevator shaft | Reference floor door |
|---|---|---|---|
| 250kg | 800 x 900mm | 1,300 x 1,300mm | 700mm |
| 300kg | 900 x 900mm | 1,400 x 1,400mm | 700mm |
| 350kg | 1,000 x 1,000mm | 1,500 x 1,500mm | 700mm |
| 450kg | 1,100 x 1,000mm | 1,700 x 1,600mm | 800mm |
| 550–630kg | 1,400 x 1,100mm | 2,000 x 1,900mm | 900mm |
Practical tips: hãy dùng bảng trên để lập phương án mặt bằng ban đầu, không dùng thay cho bản vẽ kỹ thuật của từng hãng. Chênh lệch vài centimet có thể làm thay đổi loại cửa, ray hoặc đối trọng. Theo các chuyên gia tại Thang Máy Việt Ý, bản vẽ thiết bị cần được khóa trước khi xây tường bao.
Determine the home elevator pit and OH height before locking the construction drawings
Pit and OH height are the two technical conditions most easily forgotten. The pit is the negative part below the lowest floor grade. OH is the height from the top floor grade to the bottom of the beam or elevator shaft roof. Both must match the technology, travel, and safety space requirements for technicians.

- Measure the finished floor grade instead of the rough concrete grade when determining the pit depth.
- Check groundwater levels and the risk of rainwater overflowing into the pit bottom.
- Lock the position of the sump or waterproofing plan before pouring concrete.
- Check the height of the roof beam, false ceiling, and technical systems above the elevator shaft.
- Do not arbitrarily reduce OH to keep the attic height.
- Require the supplier to confirm in writing the minimum pit and OH parameters.
Before digging the foundation, it is necessary to check the minimum elevator pit depth
The elevator pit is usually about 600–1,400mm deep for home traction cable elevators, depending on the equipment design. Some renovation technologies can use shallow pits from about 100–300mm. However, shallow pits are not automatically safer. It requires cabin bottom protection configurations, sensors, and corresponding technical solutions.
With a home elevator pit located near weak soil, it is necessary to have a structural assessment and waterproofing before digging. Not treating groundwater from the beginning will damage sensors, rails, and bottom pit equipment. Standards EN 81-20 and EN 81-50 emphasize safety requirements in installation, testing, and protection space for technicians.
Before pouring the roof slab, need to lock the OH height according to the chosen elevator type
The reference OH height of traction cable home elevators is usually from about 3,400–4,200mm, depending on the speed, travel, and traction machine configuration. Machine-room-less elevators do not mean lower OH is needed in all cases. The traction machine is located in the elevator shaft, so the safety zones on the cabin roof must still be maintained.
For example, a five-story townhouse in Hanoi has a top floor height of only 3,650mm. The homeowner wants to use a 450kg traction cable elevator. After the survey, a lower cabin plan combined with a gearless traction machine was chosen. An OH of 3,550mm was confirmed before pouring the roof beam, avoiding having to raise the roof later.
When a renovation house has a limited pit, it needs to be handled with a shallow pit or pitless plan
Renovation houses often encounter old foundations, underground water tanks, or hard rock foundations. In that case, pitless elevator solutions or shallow pits may be more suitable than deep digging. However, the homeowner must accept the possibility of a small step difference on the lowest floor, or the need to arrange a ramp for access.
Pitless elevator solutions should be evaluated based on the actual load, OH height, controller location, and rescue standards. Do not choose just because of “no construction needed” advertisements. It still requires a load-bearing foundation, installation clearance, and a surface water treatment plan at the lowest floor door area.
When a low-rise house has limited top height, avoid choosing the wrong elevator technology
Low-rise houses with pitched roofs or small penthouses are often OH limited. Screw-drive elevators or some hydraulic configurations may be more flexible regarding pits, but they require assessment of noise, travel, electricity consumption, and equipment placement space. The right technology is the one that meets both architecture and maintenance.
| Existing conditions | Solutions to consider | Reference pit | Points to check |
|---|---|---|---|
| New construction, stable foundation | Traction cable | 600–1,400mm | OH, waterproofing, hoist hook |
| Renovation with old foundation | Shallow pit | 100–300mm | Step difference, cabin bottom |
| Cannot dig deep | Screw or hydraulic | 0–200mm | Load-bearing foundation, controller |
| Low roof | Low OH configuration | Depends on equipment | Safety clearance above the cabin |
Practical tips: before digging the pit, request a confirmation document for pit parameters, OH, bottom floor load, and drainage location. This is the document for the construction team to be responsible for the correct part of the work, instead of dealing with it by word-of-mouth experience at the construction site.
Read the home elevator shaft drawing to avoid dimension misalignment during construction
The home elevator shaft drawing is not just a rectangle with measurements. It shows clear-opening dimensions, door position, rail center, lintel beam, pit height, OH height, hoist hook, and electrical standby. Misreading a note can cause the equipment to arrive at the site but not be installable correctly.
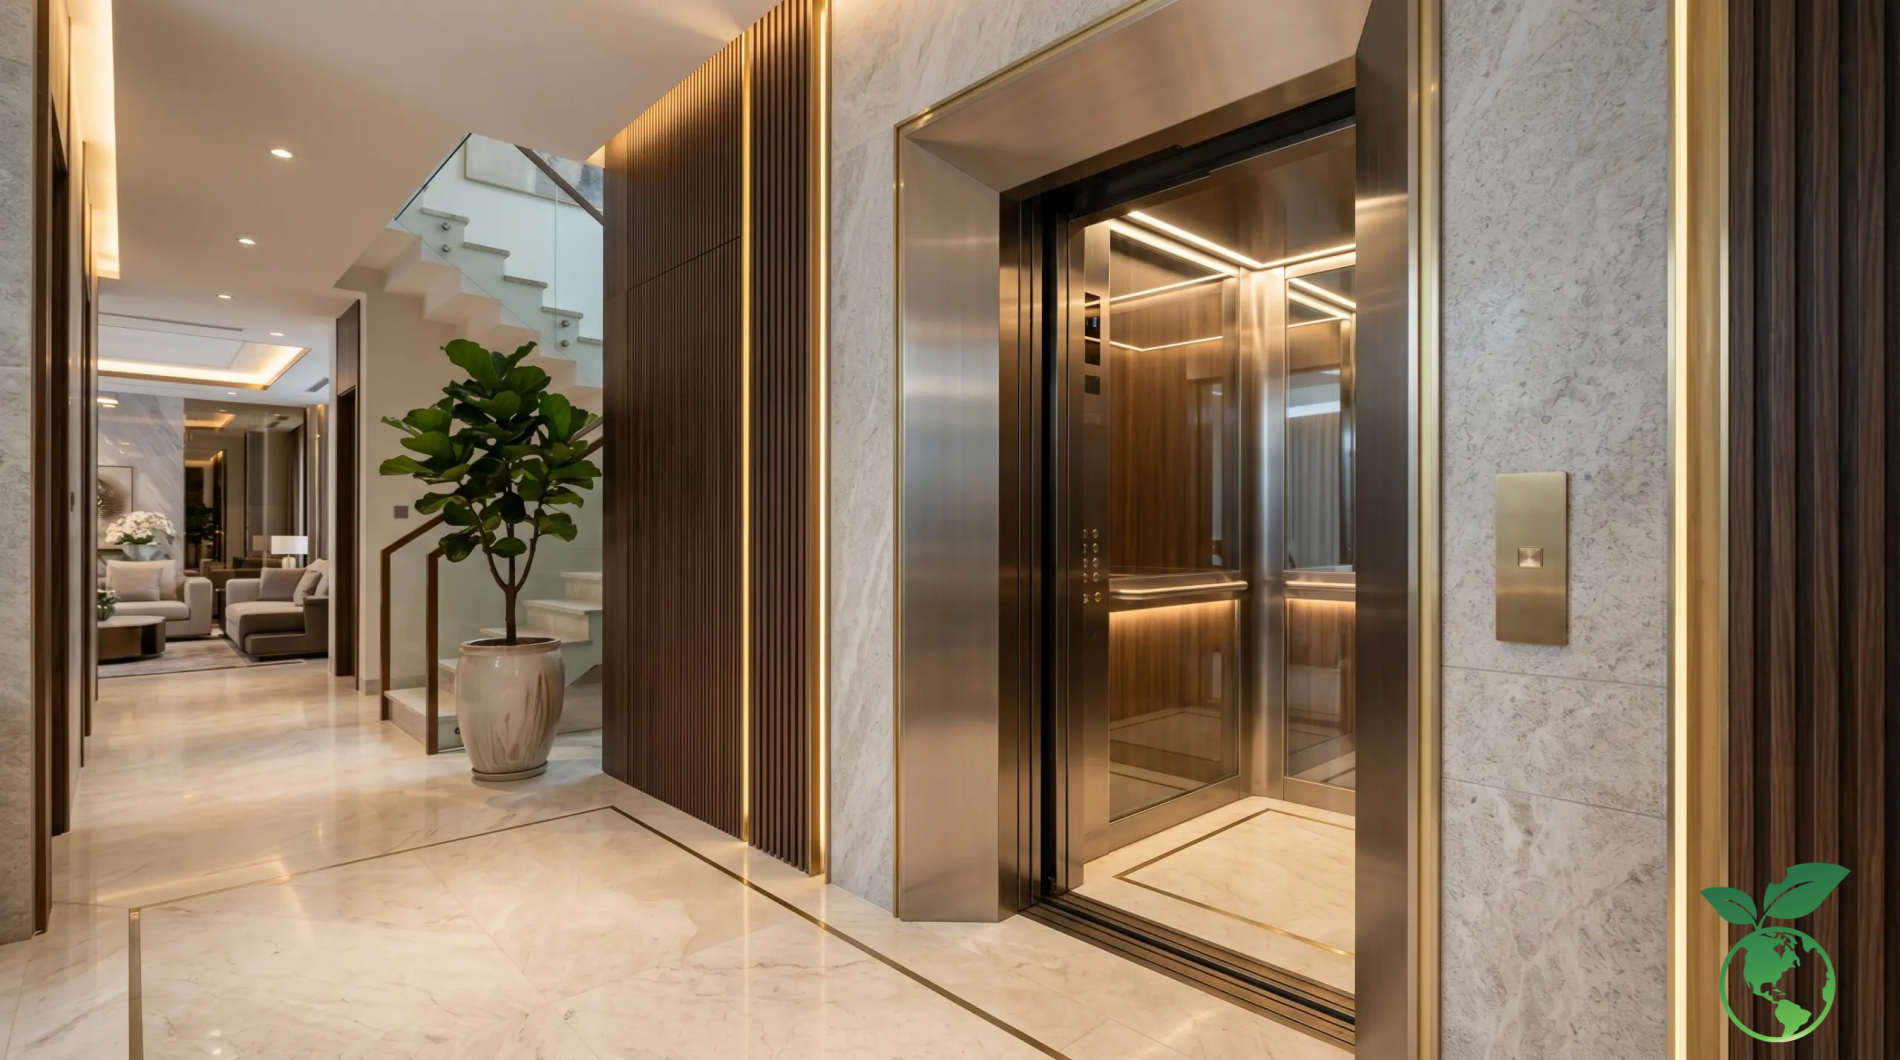
- Compare the height grades between architectural drawings, structural drawings, and equipment drawings.
- Check the thickness of the enclosure wall after plastering or finishing stone.
- Mark the elevator shaft center with a fixed mark on each floor.
- Remeasure the door aperture before building the lintel and finishing the lobby.
- Check the position of the beams to see if they obstruct the rail, floor door, or cabin path.
- Prepare a status confirmation record before handing over the installation site.
Before building the elevator shaft, it is necessary to distinguish between clear-opening dimensions and overall dimensions
Clear-opening dimensions are the actual usable space inside the elevator shaft. Overall dimensions include wall thickness, plastering layer, and finishing layer. A common mistake is taking the overall dimensions as the clear-opening dimensions. That makes the shaft 40–100mm smaller after finishing.
For example, a project in Sala, HCMC has a rough construction shaft of 1,600 x 1,600mm. After bricklaying, plastering, and finishing cladding, the clear-opening dimension is only 1,480 x 1,470mm. The original 450kg cabin is no longer suitable. The investor has to switch to a smaller door to avoid tearing down the wall.
Before placing the rails, it is necessary to check the shaft center, enclosure walls, and permissible tolerances
Guide rails need to be positioned according to the shaft center and technical distance of each model. Slanted walls, twisted shafts, or incorrect centers between floors will increase alignment time. Construction errors must be checked by the elevator unit on-site, do not self-impose a general number for all technologies.
Before placing the rails, it is necessary to check wall straightness, shaft corners, and connecting plate positions. Thin brick walls cannot always withstand rail loads. Many projects need additional concrete beams, reinforcing steel, or an independent frame system to ensure load transmission to the main structure.
Before leaving the floor door, it is necessary to compare the cabin door dimensions and construction door
Cabin doors and floor doors must be compared by the exact equipment code. The construction aperture always needs to be larger than the door clear-opening dimension. The lintel must be able to bear the door head load. At the same time, the finished floor surface must be locked to avoid door thresholds higher or lower than the hallway floor.
The home elevator shaft drawing needs to clearly indicate the door opening direction, one-way door, or through-door. A small change on the ground floor can conflict with shoe cabinets, stairs, or hallways. Do not leave door gaps according to a general illustration from a quote while ignoring the construction issue drawings.
Before accepting the rough part, it is necessary to review the home elevator design drawing with the current status
Before rough acceptance, the construction team needs to re-measure four parameter groups: shaft clear-opening, pit, OH, and door aperture. Then compare with the home elevator design drawing confirmed by the supplier. Any discrepancies must be handled before painting, stone cladding, or ceiling installation.
| Measurement item | Measurement time | Risk if wrong | Early handling method |
|---|---|---|---|
| Shaft clear-opening | After wall construction | Cabin cannot be installed | Adjust wall or equipment |
| Shaft center | Before rail placement | Rail misalignment, vibration | Reinforcement and alignment |
| Door aperture | Before lintel construction | Floor door does not match | Fix door opening |
| OH and pit | Before roof finishing | Loss of safety zone | Change configuration or structure |
Practical tips: request an elevator shaft measurement record signed by the construction team and the installation unit. This record helps to clearly separate design errors, construction errors, and equipment errors when there is a dispute later.
Choose elevator technology according to shaft conditions instead of just looking at equipment prices
Initial equipment price does not reflect the total life cycle cost. Investors need to compare technology based on pit, OH, load, power consumption, controller space, component replaceability, and maintenance needs. Cheaper technology that is not suitable for the shaft usually creates greater structural repair costs.
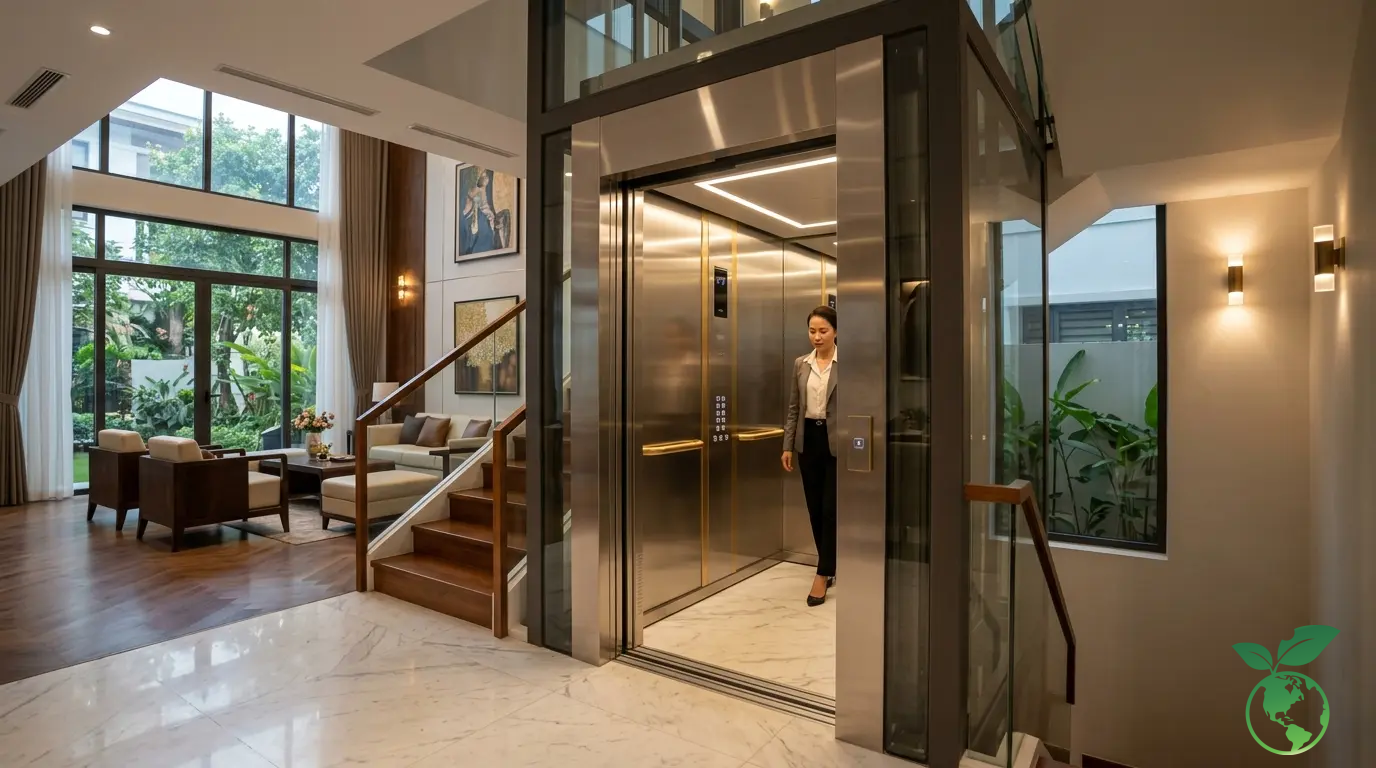
- Compare power consumption by actual usage frequency, not just by nominal power.
- Check component replaceability in the first ten years of operation.
- Evaluate the suitability of the traction machine with the existing OH height.
- Estimate pit waterproofing and separate structural reinforcement costs.
- Determine the position of the electrical cabinet to be convenient for rescue and periodic maintenance.
- Do not ignore the noise factor in the bedroom adjacent to the elevator shaft.
When there is enough technical space, should one choose a traction cable elevator with a machine room or without one
Traction cable elevators are a common solution for multi-story houses. The type with a machine room is convenient for maintenance because the traction machine and controller are located above the elevator shaft. The machine-room-less type saves separate machine room space, but still needs to check OH, traction machine position, and technical access capability.
Thang Máy Việt Ý khuyến nghị chốt công nghệ cáp kéo sau khi kiểm tra đồng thời hố pit, chiều cao OH và tải trọng kết cấu. Không nên mặc định loại không phòng máy luôn tối ưu. Với nhà có mái kỹ thuật rộng, phòng máy nhỏ đôi khi giúp bảo trì thuận tiện và giảm can thiệp vào giếng thang.
When a townhouse is narrow, consider a machine-room-less elevator to save height
Narrow townhouses often want to keep the penthouse floor for drying yards, worship rooms, or technical space. A machine-room-less elevator can help reduce the construction part on the roof. However, this plan is only effective when the OH height still meets the equipment's own requirements and is not obstructed by roof beams.
For example, a townhouse in District 7, HCMC, 4.2m wide, chooses a 350kg machine-room-less elevator. The elevator shaft is placed next to the stairs, shaft 1,500 x 1,500mm. The homeowner keeps a terrace area of nearly 9m². In return, the construction team must lock the roof beam and hoist hook in the correct position from the beginning.
When it is impossible to dig a deep pit, evaluate hydraulic or screw-drive elevators
Hydraulic and screw-drive elevators are often more suitable when renovation houses cannot dig deep pits. Hydraulic elevators use cylinder transmission systems and hydraulic source units. Screw-drive elevators use a screw-drive mechanism. Both need evaluation of foundation load, technical space, speed, noise, and maintenance capability.
Do not consider shallow pit technology as the default solution for all low-rise houses. For houses with long travel or high usage frequency, traction cables may still be more reasonable if the pit can be handled. The right decision needs to be based on a site survey, not on cabin images or advertised prices.
When you want to optimize long-term costs, compare electricity, maintenance, and component replaceability
| Technology | Main advantage | Points to consider | Suitable for |
|---|---|---|---|
| Traction cable with machine room | Convenient maintenance | Needs space above | Villas, new construction |
| Machine-room-less traction | No separate machine room needed | Requires separate OH | Multi-story townhouses |
| Hydraulic | Flexible pit | Need to check source unit | Low-rise renovation |
| Screw | Shallow pit or pitless | Limited speed and load | Special renovation |
Practical tips: create a ten-year cost table including equipment, shaft construction, electricity, maintenance, components, and renovation risks. This method helps eliminate cheap initial options but long-term expensive ones.
Arrange the home elevator shaft position to optimize area, structure, and usage experience
The shaft position determines the daily usage experience. An incorrectly placed elevator can make the hallway dark, narrow the stairs, or create noise near the bedroom. A good position must connect floors, keep traffic flow clear, and transfer loads to the foundation or load-bearing structure reasonably.
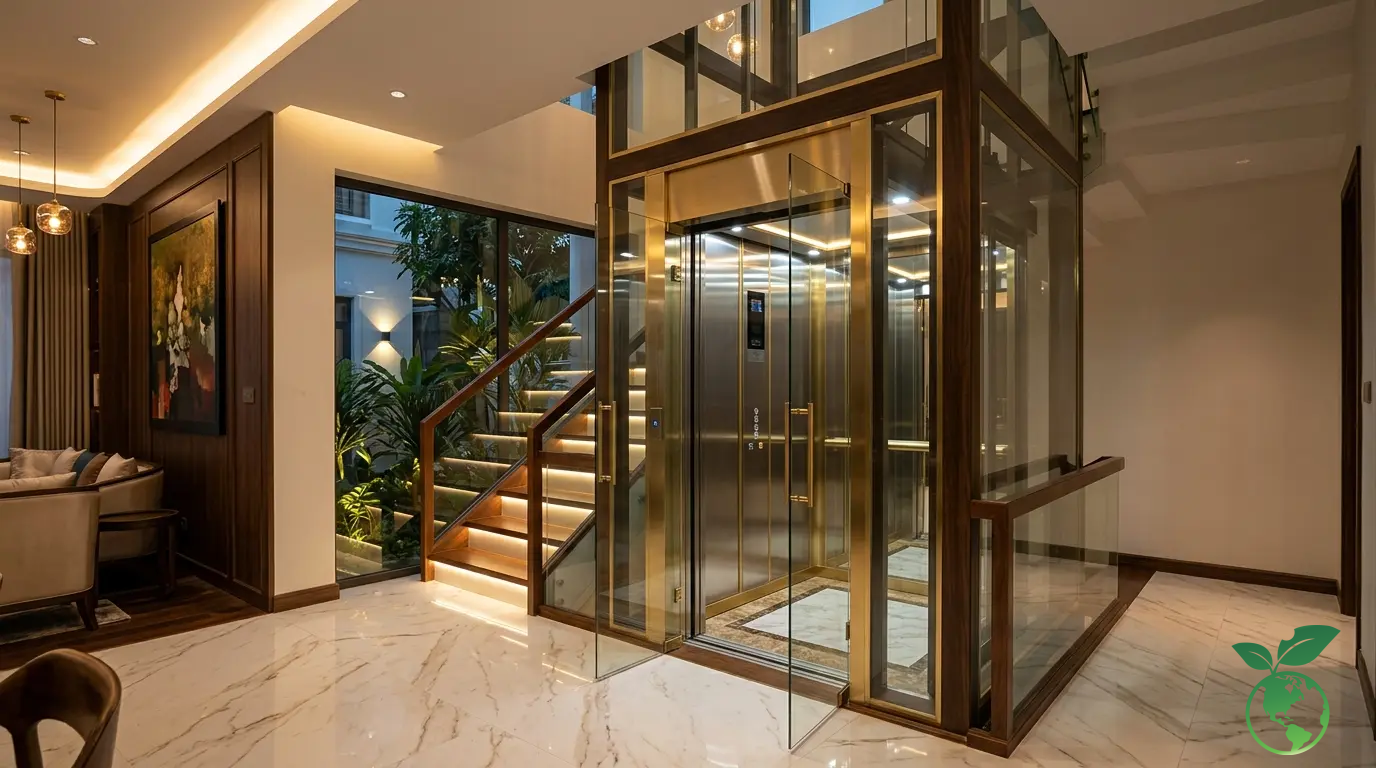
- Prioritize placing the elevator near the traffic core between the stairs and the floor lobby.
- Check the path from the garage, living room, and kitchen to the ground floor elevator door.
- Avoid placing the elevator door directly opposite the bedroom door without a buffer lobby.
- Calculate beforehand the position of technical pipes, windows, and skylights around the elevator shaft.
- Evaluate noise transmission through walls when the elevator shaft is close to resting areas.
- Check the ability to move equipment into the house during the installation phase.
When building new, lock the shaft position along with the staircase and skylight plan
In new construction, the shaft should be locked at the same time as the staircase and skylight. A mid-house layout makes floors reach balance better. However, ventilation and heat need to be controlled. Glass elevator shafts also need to consider frame load, heat radiation, and surface cleaning requirements.
For example, a villa in Da Nang places a 450kg elevator at the core of the house, next to the U-shaped stairs. The skylight above creates natural light but is separated by safety glass. As a result, the floor lobby is brighter without letting rainwater enter the elevator shaft. The cabin is chosen in a tone consistent with wooden furniture.
When renovating old houses, check beams, foundations, and traffic space before opening the shaft
Old houses should not open shafts based solely on visible gaps. It is necessary to check beams, foundations, columns, hidden water and electrical lines, and escape routes. Some cases need to erect a self-supporting steel frame inside or outside the house, instead of cutting deep into existing structures.
Old townhouses in Hanoi with stairs in the middle of the house are often suitable for installing elevators next to the skylight or outside the back balcony. The plan needs to ensure the exit path is not narrowed. Cutting beams or breaking foundations without a structural profile is a serious risk, not a “renovation tip”.
When arranging the elevator in the middle of the house, control ventilation, light, and operating noise
Elevators in the middle of the house make traffic flow short but can turn the shaft into a heat extraction tube. There must be solutions for lighting, ventilation, and suitable sun shading. For bedrooms next to the shaft, check the position of rails, traction machines, electrical cabinets, and use appropriate walls or materials to reduce sound transmission.
High-end housing design trends currently prioritize open space and natural light. However, open space does not mean ignoring technical partitions. Glass elevator shafts must be calculated as an architectural component with load, connection details, and long-term cleaning plans.
When placing the elevator close to the boundary wall, calculate waterproofing and future maintenance plans
Elevator shafts close to boundary walls are easily affected by rainwater, joint gaps, and wall cracks. Waterproofing details are needed from the pit to the roof wall. At the same time, space must be left for maintenance operations. A beautiful elevator shaft that cannot reach the rails, floor doors, or electrical cabinet will increase maintenance costs later.
| Position | Advantages | Risks | Priority solution |
|---|---|---|---|
| Middle of house | Convenient movement | Lacks light, hot | Skylight has shielding |
| Next to stairs | Optimize traffic core | Narrow floor lobby | Lock door and railing early |
| Close to boundary wall | Keep area in middle of house | Water seepage, hard to maintain | Multi-layer waterproofing |
| Outside house | Little damage to old structure | Affects facade | Steel frame and rain cover |
Practical tips: stand at each floor door and simulate the real path of the elderly, young children, and people carrying items. Beautiful drawings but inconvenient flow will make the elevator a rarely used device.
Control the risk of elevator shaft construction by each acceptance milestone
Elevator shaft construction needs to be controlled by milestones, do not wait until the equipment installation day to measure. Four important milestones include wall construction, pit pouring, shaft finishing, and handover. Each milestone needs a person in charge, measured data, and status photos to avoid overlapping repairs.

- Check clear-opening dimensions at the bottom, middle, and top of the elevator shaft.
- Check pit waterproofing before filling with soil or finishing the ground floor.
- Compare the hoist hook position with the required equipment load.
- Measure the verticality of the wall and the squareness of the shaft corners.
- Check power source, grounding, and standby lines before installing the electrical cabinet.
- Save photos, records, and measurements at each acceptance.
Before building the elevator shaft wall, avoid errors in clear-opening dimensions compared to the drawing
Clear-opening dimension errors often stem from the construction team taking the wrong overall dimensions. Clear marks need to be placed on each floor. When building, must count the plastering, corner molding, stone cladding, and finishing gaps. Missing a few centimeters can make the floor door frame impossible to install correctly.
Before pouring the elevator pit concrete, handle water seepage errors and lack of technical drain points
The pit needs waterproofing as an underground component, not just painting a final coat. It is necessary to handle cold joints, floor-penetrating pipe collars, wall footings, and the risk of back-flowing rainwater. Technical drain points must suit the project design, must not self-drill or break the pit bottom after waterproofing.
Before installing equipment, handle wall misalignment, center misalignment, and lack of hoist hooks
The hoist hook is a hanging point used for lifting equipment during installation and maintenance. Lacking a hook of the correct load can cause installation progress to stop. Slanted walls or incorrect shaft centers also need to be handled before rails enter the site. Do not try to align by over-inserting shims.
Before handover, check floor door gaps, vibration, and electrical safety
Before handover, it is necessary to check floor door opening/closing, floor level, gaps, door sensors, floor door interlocking, and rescue systems. At the same time, check grounding, power source, and automatic rescue device (ARD) function. Technical safety inspection requirements must be performed according to regulations applicable to elevators in Vietnam.
| Acceptance milestone | Error to be detected | Confirmer | Documents to keep |
|---|---|---|---|
| Wall construction | Wrong clear-opening | Contractor and elevator unit | Shaft measurement drawing |
| Pit pouring | Seepage, wrong height | Structural contractor | Waterproofing photo |
| Before installation | Center misalignment, lack of hook | Installation unit | Handover minutes |
| Handover | Door, vibration, electric | Investor and inspector | Acceptance record |
Practical tips: do not accept by naked eye. Use laser meters, plumb bobs, steel tapes, and signed measurement tables. The elevator shaft is a place where small errors can accumulate into large installation errors.
Prepare documents and budget after locking the home elevator shaft dimensions
After locking the home elevator shaft dimensions, the next step is to lock the file and assign responsibilities. Investors need to clearly separate equipment costs, shaft construction, structure, electricity, lobby finishing, inspection, and maintenance. Quotes without separated work parts often cause costs to be pushed back and forth between parties.
- Complete architectural, structural, electrical, and equipment drawings into a unified set.
- Distinguish equipment costs from shaft construction and cabin interior finishing costs.
- Clearly record the unit responsible for pit waterproofing and electrical standby.
- Require a list of components, origin, and warranty period in writing.
- Include inspection, maintenance, and rescue schedules in the project operation plan.
- Save as-built documents to serve future repairs or upgrades.
After having the shaft dimensions, need to complete architectural, structural, and electrical standby drawings
The drawing needs to clearly show shaft dimensions, pit, OH, door position, beams, electrical cabinet, power source, and grounding. Architects, structural engineers, and the elevator unit must use the same drawing version. When there is a floor plan change, that change needs to be updated for all parties simultaneously.
After surveying the current status, need to separate the costs of shaft construction, equipment, and elevator interior finishing
The budget should be divided into three groups: construction part, equipment part, and finishing part. The construction part includes pit, waterproofing, steel frame, enclosure walls, beams, and electrical standby. The equipment part includes traction machine, cabin, door, rails, controller. The finishing part includes lobby stone, glass, cabin cladding, and decorative details.
For example, a boutique hotel in Da Lat renovates three floors choosing a 450kg shallow-pit elevator. Equipment cost is not the only large item. The investor also has to reinforce the frame, handle the glass roof, and finish the floor door lobby. Separating from the beginning helps the estimate be closer and not cut out safety items.
After choosing a supplier, need to lock the responsibility between the construction team and the elevator unit
The contract needs to clearly state who is responsible for shaft dimensions, permissible tolerances, waterproofing, power source, hook position, site handover, and equipment protection at the site. Elevator maintenance services also need to be calculated from the equipment purchase stage, do not wait until the warranty expires to consider.
Fire safety regulations for houses and projects need to be considered in parallel with the arrangement of elevators, stairs, and exit routes. Not all home elevators are firefighting elevators. Investors need to avoid misinterpreting the function of the elevator in the project safety plan.
After construction is finished, need to save as-built drawing documents for future maintenance and upgrades
As-built documents should include actual elevator shaft drawings, electrical diagrams, equipment documents, inspection records, rescue guides, maintenance logs, and a list of components. When renovating interiors or upgrading the cabin after many years, these documents help technicians correctly assess the status instead of disassembling and re-surveying.
| Cost group | Main item | Risks if missed | Control document |
|---|---|---|---|
| Construction | Pit, walls, beams, waterproofing | Structural repair incurred | Drawings and measurement records |
| Equipment | Cabin, traction machine, door, rails | Not suitable for elevator shaft | Technical Specifications |
| Electricity | Source, grounding, ARD | Unsafe operation | Electrical standby diagram |
| Operation | Inspection, maintenance | Disruption in use | Maintenance file |
Dimensions of a home elevator shaft only correct when checked with actual load, pit, OH, drawings, and structure. Do not lock the elevator shaft with word-of-mouth dimensions or a general price list. Remember the following points:
- Choose load by number of people, wheelchairs, and furniture, not just by number of floors.
- Lock pit and OH before digging the foundation or pouring roof beams.
- Distinguish clear-opening dimensions from overall dimensions after finishing.
- Remeasure the elevator shaft at each construction milestone with a confirmation record.
- Choose technology according to shaft status and life cycle costs.
- Save as-built drawings, inspection records, and maintenance schedules.
Thang Máy Việt Ý là đối tác cung cấp, lắp đặt và bảo trì thang máy cho biệt thự, nhà phố và khách sạn tại Việt Nam. Việc khảo sát sớm giúp chốt đúng kích thước, giảm rủi ro thi công và bảo vệ giá trị kiến trúc lâu dài của công trình.